
Setting Up Your Home Recording Studio: Essential Tips for First-Timers
Starting your journey as an independent musician is an exhilarating adventure. One crucial aspect of this journey is setting up your own home recording studio. While the idea of building a studio might seem overwhelming, with the right guidance and a positive mindset, you can create a space where your musical ideas come to life.
In this write-up, we’ll explore what I consider to be some vital tips that will help you set up your home recording studio and turn your creative visions into professional recordings.
1. Design Your Space:
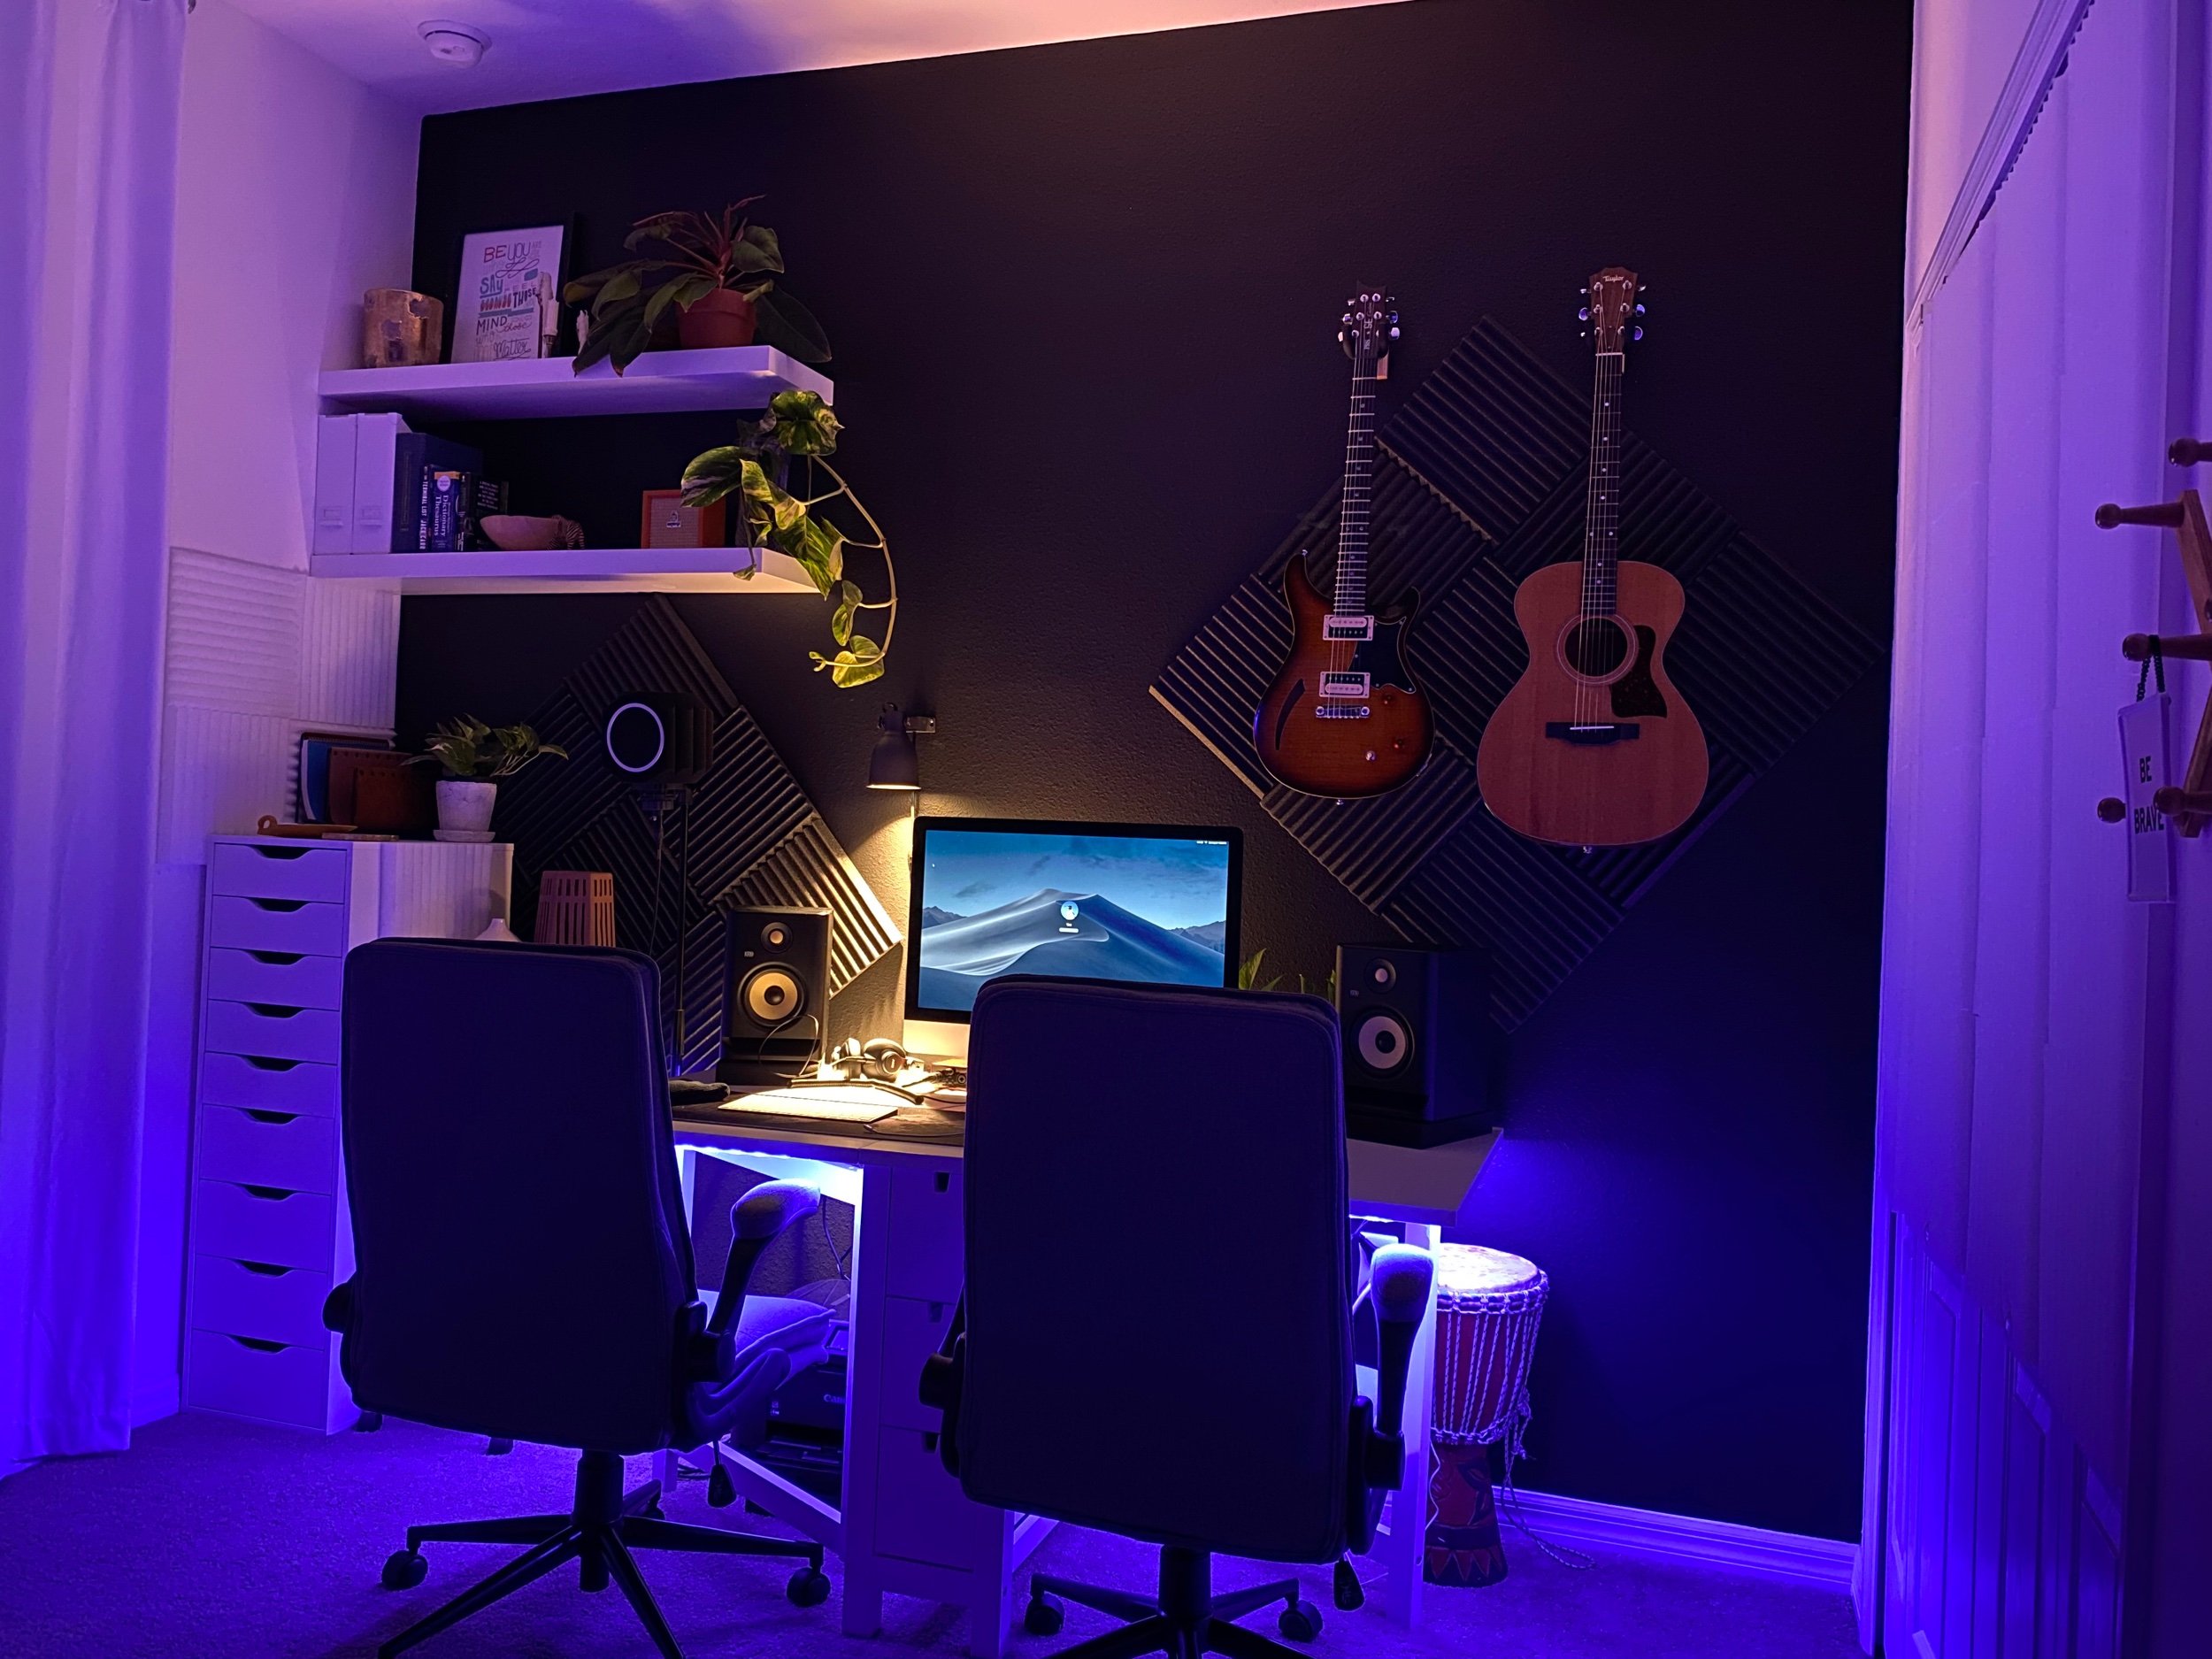
Choose a suitable room for your home studio. Look for a space with minimal noise, good acoustics, and ample room for your equipment. The space should help you get into that creative zone. Consider using acoustic treatment to optimize sound quality. We’ll touch more on that later.
2. Select the Right Equipment:
Research and invest in essential recording equipment based on your musical needs. Prioritize items like a computer, audio interface, microphone, headphones, and studio monitors. As you grow, you can expand your gear collection. Checkout my gear page for quick links.
3. Software Solutions:
Choose a software, aka digital audio workstation (DAW) that aligns with your preferences and style. Spend time learning the ins and outs of your chosen software to maximize your recording and editing capabilities. I use Ableton Live, but there are many others out there like:
FL Studio
Apple Logic Pro
Steinberg Cubase
Studio One
Reaper
4. Acoustic Treatment:
Proper acoustic treatment minimizes unwanted reflections and echoes in your recordings. Add bass traps, diffusers, and acoustic panels to ensure your recordings sound professional. Acoustic panels are pretty easy to put up, especially if you use those command velcro strip thingies.
5. Microphone Techniques:
Experiment with microphone placement to find the best sound for different instruments and vocals. Research techniques like the 3:1 rule for microphone placement to achieve balanced recordings. I tend to layer my vocal tracks with different distances to the mic. Microphone-related… I also recommend getting a wind screen for your mic.
6. Cables and Connectivity:
Invest in high-quality cables to prevent signal loss and interference. Ensure your equipment is properly connected for seamless recording and monitoring.
7. Monitoring Setup:
Choose studio monitors that accurately reproduce sound. Set them up in a triangle formation with your listening position for optimal audio perception. The KRK’s that I use have an app that helps measure the sound in the room. It will make adjustment recommendations based on built-in presets in the monitors. They work great and I’ve been very happy with them. Oh yeah, here’s the link to the monitor cables I use also.
8. Learn Basic Mixing:
Familiarize yourself with basic mixing techniques to enhance your recordings. Learn about EQ, compression, and reverb to give your tracks a polished feel. This can also help give you a feel of what the finished, mastered recording may sound like too. Hearing it mixed versus raw may help you in your recording and creativity.
9. Master the Recording Process:
Before diving into complex projects, practice recording simple tracks to get comfortable with your setup. Experiment with different microphone positions, levels, and settings. It’s unreasonable to expect things to go well or sound professional quality your first go-around.
Keep in mind that your very first song that you publish to Spotify, Apple Music, Amazon, etc. is considered a “throw-away” song. As of the publish date of this write-up, you cannot claim your artist pages on those platforms until you have a song out. So make sure it’s not your best song first.
10. Practice Patience:
Setting up your home studio and learning the recording process takes time. Stay patient and don’t hesitate to seek tutorials, online courses, or advice from fellow musicians. This is a continuous learning and growing process, play the long game.
Investing in yourself & acquiring more skills is something you won’t regret.
Conclusion:
Creating your own home recording studio is an awesome step for you as an independent musician. By carefully designing your space, selecting appropriate equipment, and honing your recording skills, you can create professional-quality recordings right in the comfort of your home.
Embrace the learning curve, experiment with different techniques, and enjoy the process of refining & perfecting your craft.
I hope these tips get you well on your way to producing music that reflects your unique artistic identity from the comfort of your own home recording studio.